Vinyl plank flooring has become a popular choice for homeowners due to its durability, affordability, and ease of installation. Glue down vinyl plank flooring offers even more stability and longevity compared to floating or click-lock options.
This installation method involves adhering the planks directly to the subfloor using a strong adhesive, creating a permanent bond. Before starting the installation process, it is crucial to prepare the subfloor properly and acclimate the vinyl planks to the room’s temperature and humidity.
Applying the adhesive correctly and installing the first row of planks accurately are critical steps in achieving a professional-looking result. Securing the rest of the planks and adding finishing touches will ensure a seamless and long-lasting installation.
This article provides a detailed, step-by-step guide on how to install glue down vinyl plank flooring, along with maintenance tips to keep it looking pristine for years to come.
Key Takeaways
- Properly prepare the subfloor to ensure a stable and long-lasting foundation.
- Acclimate the vinyl planks to the room’s temperature and humidity for at least 48 hours before installation.
- Apply adhesive correctly and evenly to ensure stability and longevity.
- Position and align the first row of planks accurately for a professional look, leaving a small gap for expansion.
Preparing the Subfloor
Preparing the subfloor is a crucial step in the installation process of glue down vinyl plank flooring, as it ensures a stable and long-lasting foundation for the flooring material, instilling a sense of confidence in the homeowner’s investment.
Before installing the vinyl planks, it is essential to install a moisture barrier to prevent any moisture-related issues that could potentially damage the flooring over time. This can be achieved by applying a layer of plastic or a specialized moisture barrier product over the subfloor.
Additionally, subfloor leveling techniques should be employed to ensure a smooth and even surface for the vinyl planks. This may involve the use of self-leveling compound or plywood underlayment to address any unevenness or imperfections in the subfloor.
Taking the time to properly prepare the subfloor will greatly contribute to the overall success and longevity of the glue down vinyl plank flooring installation.
Acclimating the Vinyl Planks
Before beginning the installation process, it is essential to allow the vinyl planks to acclimate to the environment for a period of time. Acclimating the vinyl planks is an important step in the installation process as it helps prevent potential issues such as expansion, contraction, and warping. This process involves allowing the planks to adjust to the temperature and humidity conditions of the room they will be installed in.
Different types of flooring materials have different acclimating requirements. For vinyl plank flooring, it is recommended to acclimate the planks for at least 48 hours before installation. During this time, the planks should be stored in the room where they will be installed, ensuring that the temperature and humidity levels are similar to the expected conditions during and after installation.
Proper acclimation is crucial for achieving long-lasting flooring installations. Failing to acclimate the vinyl planks properly can lead to issues such as buckling, gaps, or uneven flooring. By allowing the planks to adjust to the environment beforehand, it helps ensure that the flooring will perform well and maintain its integrity over time.
Applying Adhesive to the Subfloor
Applying adhesive to the subfloor is a crucial step in ensuring the stability and longevity of the flooring installation. There are different types of adhesive available for vinyl flooring, including pressure-sensitive and moisture-cured adhesives. The choice of adhesive depends on factors such as the type of subfloor, the environment, and the manufacturer’s recommendations.
Before applying the adhesive, it is important to prepare the subfloor properly. It should be clean, dry, and free from any debris or contaminants. The adhesive should be spread evenly using a trowel or a notched adhesive spreader, following the manufacturer’s instructions for the proper technique and coverage. It is essential to work in small sections and avoid applying excessive adhesive.
Once the adhesive is applied, the vinyl planks should be immediately laid onto the subfloor, pressing firmly to ensure proper bonding. It is important to follow the recommended drying time before allowing foot traffic or further installation steps.
By following the proper technique for applying adhesive to the subfloor, the vinyl plank flooring will be securely and durably installed.
Installing the First Row of Planks
To ensure a seamless and professional-looking installation of vinyl plank flooring, the first row of planks must be meticulously positioned and aligned. Before starting, gather the proper tools for installing vinyl planks, including a tape measure, utility knife, and a straight edge.
Begin by measuring the length of the wall and cutting the first plank accordingly. It’s essential to leave a small gap between the plank and the wall to allow for expansion.
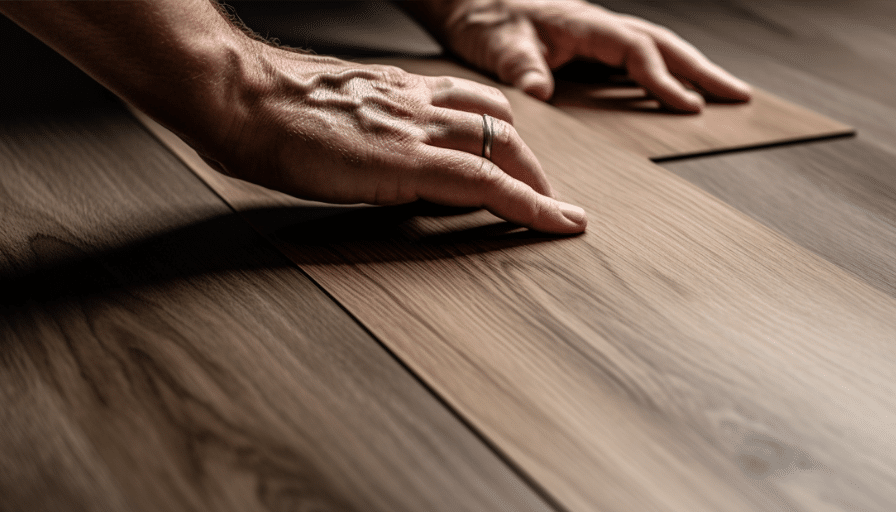
Next, apply adhesive to the subfloor, following the manufacturer’s instructions. Carefully place the first plank along the starting wall, ensuring it is straight and aligned. Press it firmly into the adhesive, making sure there are no gaps or bubbles.
Repeat this process for the rest of the first row, taking care to maintain the correct spacing between planks. Avoid common mistakes such as not aligning the planks properly or failing to press them firmly into the adhesive.
Securing the Rest of the Planks
Continuing the installation process, the remaining planks should be securely fastened in place to ensure a professional and visually pleasing outcome, evoking a sense of satisfaction and pride in the audience.
After installing the first row of planks, it is essential to proceed with installing the baseboards. Begin by measuring and cutting the baseboards to fit the walls. Use a miter saw to create precise angles at corners for a seamless finish. Attach the baseboards to the wall using a nail gun or adhesive, ensuring they are level and aligned with the installed planks.
Troubleshooting common installation issues may arise during this step. One common issue is gaps between the planks. To fix this, gently tap the planks together using a tapping block and rubber mallet. If the planks are not staying in place, apply additional adhesive or use weights to hold them down until the glue dries. It is crucial to address any issues promptly to maintain a smooth and durable flooring installation.
Finishing Touches and Maintenance Tips
To ensure the longevity and beauty of the newly installed vinyl planks, it is essential to focus on the finishing touches and maintenance tips.
After securing all the planks in place, it is important to clean the surface thoroughly. Use a damp mop or cloth to remove any residue or dirt from the flooring. Avoid using abrasive cleaners or harsh chemicals as they can damage the vinyl surface. Regular sweeping or vacuuming can help prevent dirt and debris from scratching the floor.
Additionally, it is crucial to address any spills or stains promptly by wiping them up immediately. To troubleshoot common issues such as scratches or scuffs, consider using a vinyl floor repair kit or apply a small amount of matching color vinyl adhesive to the affected area.
By following these cleaning techniques and troubleshooting common issues, the vinyl plank flooring will maintain its beauty and durability for years to come.
Frequently Asked Questions
How do I choose the right adhesive for glue down vinyl plank flooring?
When selecting an adhesive for glue down vinyl plank flooring, consider factors such as the type of flooring, subfloor condition, and manufacturer’s recommendations. Follow proper adhesive application techniques, including applying adhesive evenly, allowing for proper curing time, and following safety precautions.
Can glue down vinyl plank flooring be installed over existing tile or hardwood floors?
Glue down vinyl plank flooring can be installed over existing tile or hardwood floors, provided that they are in good condition and properly prepared. This method offers the benefits of using glue down vinyl plank flooring, such as enhanced durability and stability.
Is it necessary to remove baseboards before installing glue down vinyl plank flooring?
Removing baseboards before installing glue down vinyl plank flooring is not necessary, but it can provide a cleaner and more professional finish. Alternatively, one can install quarter round or shoe molding to cover the expansion gap between the flooring and the baseboards.
How long does it take for the adhesive to dry before I can walk on the newly installed vinyl plank flooring?
The adhesive used for glue down vinyl plank flooring typically takes 24-48 hours to dry completely. During this time, it is important to avoid walking on the newly installed flooring to ensure proper adhesion and prevent any damage or shifting of the planks.
Can glue down vinyl plank flooring be installed in wet areas such as bathrooms or kitchens?
Glue down vinyl plank flooring is suitable for wet areas like bathrooms and kitchens due to its waterproof nature. It offers several advantages, such as resistance to moisture, durability, and easy maintenance. Different types of vinyl plank flooring suitable for wet areas include luxury vinyl tile (LVT) and luxury vinyl plank (LVP).
Conclusion
In conclusion, installing glue down vinyl plank flooring requires careful preparation and attention to detail. By properly preparing the subfloor, acclimating the vinyl planks, applying adhesive, and securing the planks in place, you can achieve a durable and attractive flooring surface.
It is important to follow the steps outlined in this guide to ensure a successful installation. Additionally, regular maintenance, such as cleaning and avoiding excessive moisture, will help prolong the lifespan of your vinyl plank flooring.
