Before you install new flooring, you need to guarantee your subfloor is in top condition. Start with a thorough inspection, checking for cracks, moisture, and levelness. It’s essential to clean the area and make any necessary repairs. But that’s just the beginning. There are several key steps to follow that can make or break your installation project. Let’s explore what you need to do next.
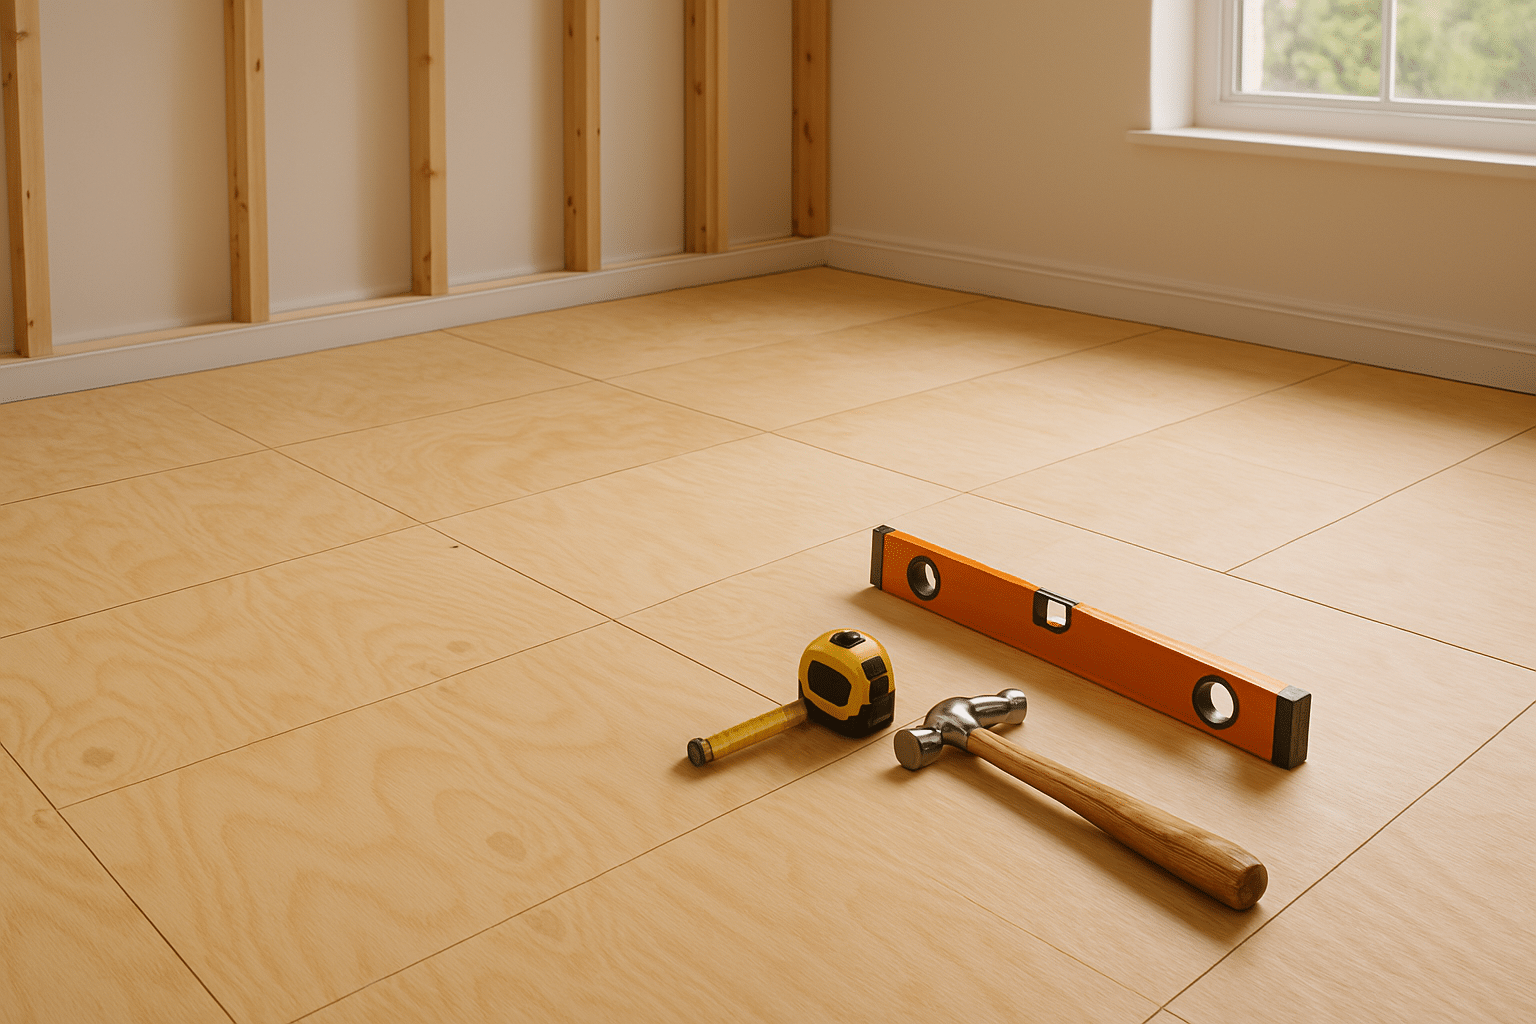
Initial Subfloor Assessment
Before diving into your flooring project, it’s crucial to conduct an initial subfloor assessment to guarantee a solid foundation.
Start by visually inspecting the surface for defects like cracks or signs of moisture damage. Use moisture meters to check for dampness, as this could indicate future problems like mold. Moisture damage can lead to serious issues, so addressing it promptly is essential. Additionally, ensure that your subfloor is clean and free of debris before proceeding with installation to promote better adhesion. It is also important to verify that the subfloor is level and flat to enhance the aesthetics and durability of your flooring.
Visually inspect for cracks and moisture; use moisture meters to identify potential mold issues.
Next, measure the subfloor levelness with specialized tools to confirm it meets the necessary standards. Pay attention to any structural issues, such as loose boards or signs of rot, which can compromise stability. Proper preparation ensures that the subfloor is structurally sound, allowing for a successful flooring installation.
If you find irregularities, consider using leveling compounds to fix them.
This thorough initial subfloor assessment sets the stage for a successful flooring installation, ensuring your new floor will stand the test of time.
Subfloor Cleaning and Debris Removal
With the initial subfloor assessment complete, it’s time to focus on cleaning and debris removal to prepare for your flooring installation.
Start by using mechanical removal methods, like floor scrapers, to eliminate adhesives and debris. You can apply heat with a heat gun to soften stubborn residues or use chemical solvents designed for specific adhesives. For stubborn adhesives, diamond grinding works wonders on concrete subfloors. Once you’ve cleared the area, employ debris and dust removal techniques. A shop vacuum is great for capturing dust, while a damp cloth can help wipe away remaining residues. Additionally, ensure that you inspect for damage to the subfloor before proceeding with the installation. Make sure to check for hazardous materials like asbestos, especially if your home was built before 1980. To further ensure a clean environment, consider using a vinegar and baking soda mixture to neutralize odors and lift any remaining stains.
Confirm your subfloor is clean before install to prevent any issues with your new flooring. Finally, ventilate the area to aid drying and eliminate odors.
Subfloor Repairs and Leveling
As you explore subfloor repairs and leveling, it’s essential to assess any damage thoroughly. Check for cracks, holes, or dips that require attention. Choose the right materials, like patching compounds or concrete, for your specific subfloor type. It’s crucial to address subfloor issues before installation, as unresolved problems can lead to future complications. A well-prepared subfloor ensures structural soundness and prevents issues like uneven wear and squeaking. Additionally, self-leveling compound application is a crucial step in achieving a flat surface before flooring installation.
After applying the patch, verify it dries completely before you sand the area smooth. Next, identify high and low spots using a spirit level. Use screws as reference points to help level the subfloor before tile installation. It’s important to remember that self-leveling compound often does not self-level effectively, requiring manual leveling to achieve desired results.
Apply self-leveling compound as directed, feathering the edges for a seamless finish. Finally, conduct a thorough inspection to confirm the subfloor is level and sound, addressing any remaining issues before proceeding with flooring installation.
Moisture Management and Barriers
After guaranteeing your subfloor is repaired and level, managing moisture becomes a top priority to protect your flooring investment. Start by using a moisture meter to check that the subfloor’s moisture content aligns with manufacturer specifications. For concrete, perform calcium chloride and relative humidity tests to get a complete picture of moisture levels. Additionally, addressing external water sources is crucial in preventing moisture accumulation beneath the flooring.
Next, focus on vapor barrier installation to prevent moisture migration. Choose the right material, like plastic sheeting, and roll it out, overlapping edges by 6 inches and sealing them properly. Ascertain the barrier extends slightly up the walls for a continuous seal. Furthermore, installing a vapor barrier is essential for preventing moisture seepage that can compromise your flooring. It’s also important to check moisture levels regularly to ensure ongoing protection against potential issues. Implementing effective moisture management strategies is vital for the long-term durability of your flooring. Finally, maintain stable temperature control by operating heating and cooling systems, which helps further in effective moisture management.
Underlayment Installation
Underlayment installation is essential for guaranteeing your flooring performs well and lasts longer, so you’ll want to start by inspecting the subfloor thoroughly. Follow your subfloor preparation checklist to confirm it’s flat, level, and free of debris or moisture. Remove any old flooring that’s uneven or damaged, and repair cracks or gaps. Choose the right underlayment based on your flooring type, guaranteeing subfloor compatibility with both the subfloor and the flooring material. Unroll the underlayment one row at a time, securing edges with tape and avoiding overlaps. Use staple guns to fasten it down and keep seams smooth, ensuring that staples are placed every 4 inches in the field of the board and every 2 inches at the seams for maximum stability.
Frequently Asked Questions
How Long Does Subfloor Preparation Typically Take?
Subfloor preparation typically takes a few hours to a couple of days, depending on the condition of your subfloor, the type of flooring you’re installing, and your experience level with the necessary tools and techniques.
Can I Install Flooring Over Existing Carpet?
You can install flooring over existing carpet, but it’s best with low-pile types. High-pile carpets need extra support, while padded carpets create uneven surfaces. Always assess your carpet’s condition before proceeding with any installation.
What Tools Are Essential for Subfloor Preparation?
For subfloor preparation, you’ll need a moisture meter, level, vacuum, scraper, and cleaning solution. These tools help guarantee a clean, dry, and even surface, which is essential for a successful flooring installation.
How Do I Determine if My Subfloor Is Structurally Sound?
To determine if your subfloor’s structurally sound, check for visible damage, test for moisture levels, assess board conditions, guarantee secure joist attachments, and evaluate surface evenness. Address any issues you discover before proceeding.
Is Professional Help Necessary for Subfloor Preparation?
You might need professional help for subfloor preparation if you’re facing complex issues, unfamiliar flooring types, or want to avoid warranty voidance. Their expertise guarantees a flawless finish, minimizing future problems and securing long-lasting results.
Conclusion
By following this ultimate subfloor preparation checklist, you’re setting yourself up for a successful flooring installation. Taking the time to assess, clean, repair, and manage moisture will guarantee your new floors last and look great. Don’t forget to choose the right underlayment and document any issues for future reference. With these steps complete, you can confidently move forward with your flooring project, knowing you’ve laid a solid foundation for success.
References
- https://www.wagnermeters.com/moisture-meters/wood-info/subfloor-preparation/
- https://www.floortrendsmag.com/articles/112505-3-basic-steps-for-proper-subfloor-prep
- https://www.flslimited.com/wp-content/uploads/2019/07/FLS-Ltd.-Checklist-For-Installing-Subfloor.pdf
- https://blog.cityfloorsupply.com/the-ultimate-guide-to-subfloor-prep-for-a-wood-floor-installation/
- https://diamondwoodfloors.com/bulletproof-diy-guide-for-prepping-your-wood-floor-install
- https://blog.manningtoncommercial.com/5-key-factors-of-a-successful-subfloor-prep
- https://flooring365.co.uk/help-centre/how-do-i-know-if-my-subfloor-is-ready-for-installation
- https://resources.rwsupply.com/guide/easy-subfloor-prep-for-hardwood/
- https://mybuildingpermit.com/sites/default/files/documentation/Underfloor.pdf
- https://elephantfloors.net/blog/how-to-remove-glue-from-subfloor/
